
Keeping your feline friend hydrated is essential for their health and well-being. A cat water fountain can encourage your pet to drink more water, but assembling it correctly is crucial for its functionality. This guide will walk you through the process step by step, ensuring your cat enjoys a steady flow of fresh water.
Understanding the Components
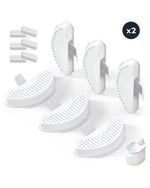
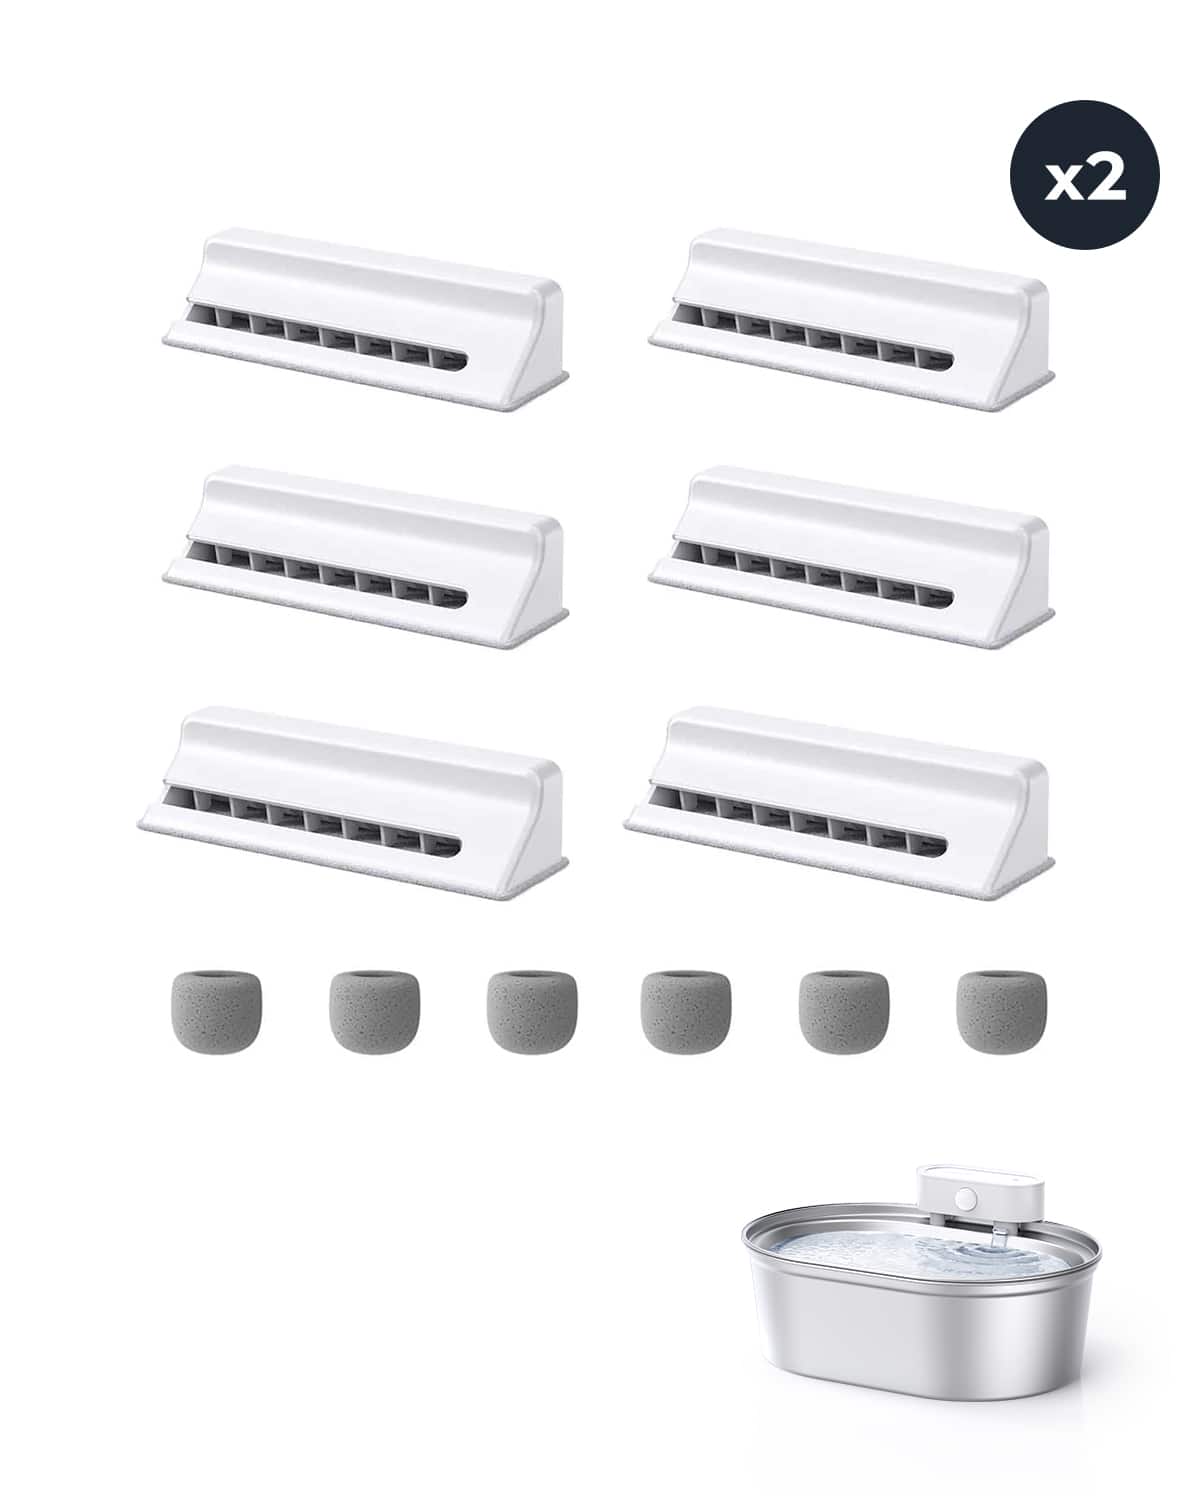
Before diving into the assembly process, it's important to familiarize yourself with the components of a cat water fountain. Typically, these fountains consist of a water reservoir, a pump, a filter, and various tubing or spouts. Understanding how these parts work together will make the assembly process smoother.
Step 1: Unboxing and Organizing
Start by unboxing the cat water fountain and laying out all the components. Check the instruction manual to ensure you have all the necessary parts. Organize them in the order they will be assembled to avoid confusion later on.
Step 2: Preparing the Water Reservoir
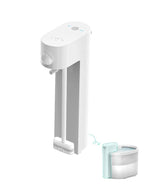
The water reservoir is the base of the fountain. Clean it thoroughly with warm, soapy water to remove any manufacturing residues. Rinse it well to ensure no soap remains, as this could be harmful to your cat.
Step 3: Installing the Pump
The pump is the heart of the water fountain. Place it in the designated area within the reservoir, ensuring it fits snugly. Connect any necessary tubing to the pump, following the manufacturer's instructions. Make sure all connections are secure to prevent leaks.
Step 4: Adding the Filter
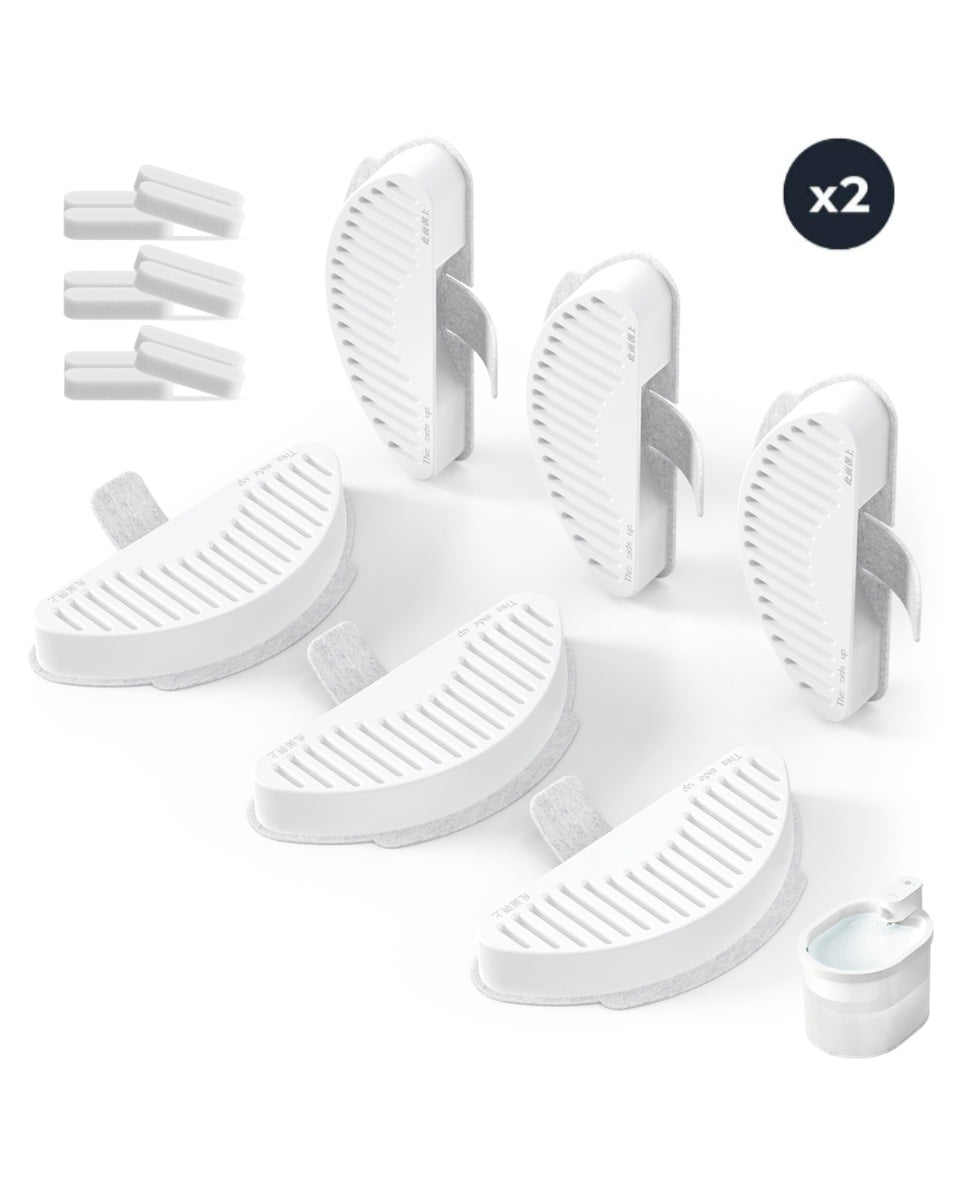
Most cat water fountains come with a filter to keep the water clean. Insert the filter into its designated slot, making sure it is properly seated. Some filters may require soaking in water before installation, so check the manual for specific instructions.
Step 5: Assembling the Spouts or Tubes
Depending on the design of your fountain, you may need to attach spouts or tubes. These components direct the flow of water and can often be adjusted to suit your cat's preferences. Secure them in place according to the instructions.
Step 6: Filling the Reservoir
Once all components are assembled, fill the reservoir with water. Be careful not to overfill, as this could cause spills when the fountain is turned on. Use clean, fresh water to ensure your cat has access to the best quality hydration.
Step 7: Testing the Fountain
Plug in the fountain and turn it on to test its functionality. Check for any leaks or unusual noises, which could indicate an issue with the assembly. Adjust the flow of water if necessary to ensure it is at a comfortable level for your cat.
Step 8: Introducing Your Cat to the Fountain
Once the fountain is assembled and functioning correctly, it's time to introduce it to your cat. Place it in a quiet, accessible location and encourage your pet to explore it. Some cats may be hesitant at first, but with patience, they will likely come to enjoy their new water source.
Maintenance Tips
Regular maintenance is key to keeping your cat water fountain in good working order. Clean the reservoir and components weekly to prevent the buildup of bacteria and debris. Replace the filter as recommended by the manufacturer to ensure the water remains fresh and clean.
By following these steps, you can easily assemble a cat water fountain and provide your pet with a reliable source of hydration. Not only will this benefit your cat's health, but it will also give you peace of mind knowing they are well cared for. So, take the time to assemble your fountain correctly and watch your feline friend thrive with their new water source.