


Keeping your cat hydrated is crucial for their health, and a water fountain can be a great way to encourage them to drink more. However, to ensure the water remains clean and safe, it's essential to know how to put a filter in a cat water fountain correctly. This guide will walk you through the process step-by-step, making it easy for you to maintain your pet's water source.
Why Filters Are Important
Filters play a vital role in maintaining the quality of water in your cat's fountain. They help remove impurities, debris, and odors, ensuring that the water your cat drinks is fresh and clean. Regularly replacing the filter is just as important as installing it correctly to keep the fountain functioning optimally.
Step 1: Gather Your Supplies
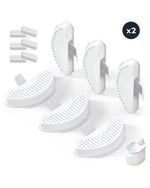
Before you begin, make sure you have all the necessary supplies. You'll need a new filter, the fountain itself, and possibly a pair of scissors if the filter requires trimming. It's also a good idea to have a clean cloth or paper towel on hand to wipe down any parts of the fountain.
Step 2: Turn Off and Unplug the Fountain
Safety first! Always turn off and unplug the fountain before you start working on it. This prevents any accidental spills or electrical issues while you're handling the components.
Step 3: Disassemble the Fountain
Carefully take apart the fountain to access the filter compartment. This usually involves removing the top cover and any other parts that may be covering the filter. Refer to your fountain's manual if you're unsure how to do this.
Step 4: Remove the Old Filter
Once you've accessed the filter compartment, take out the old filter. Dispose of it properly, as it may contain contaminants that you don't want to spread around your home.
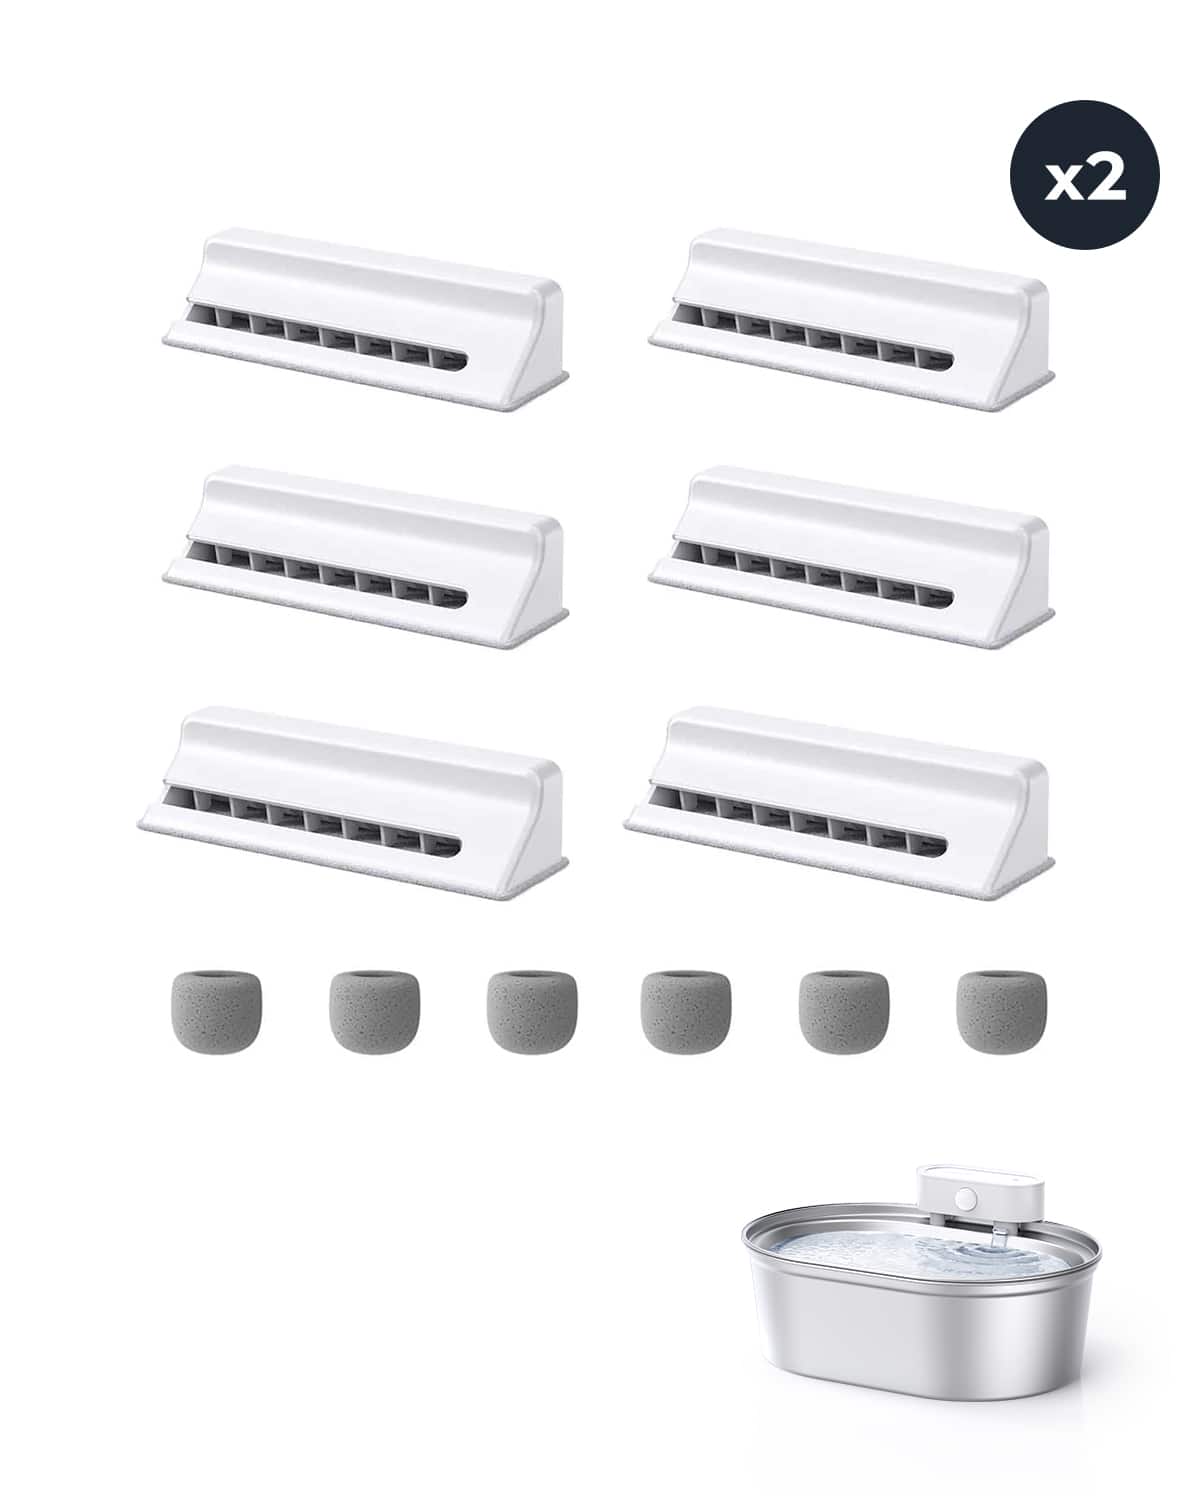
Step 5: Prepare the New Filter
If your new filter requires any preparation, such as rinsing or trimming, do so according to the manufacturer's instructions. This step ensures that the filter is ready to function effectively once installed.
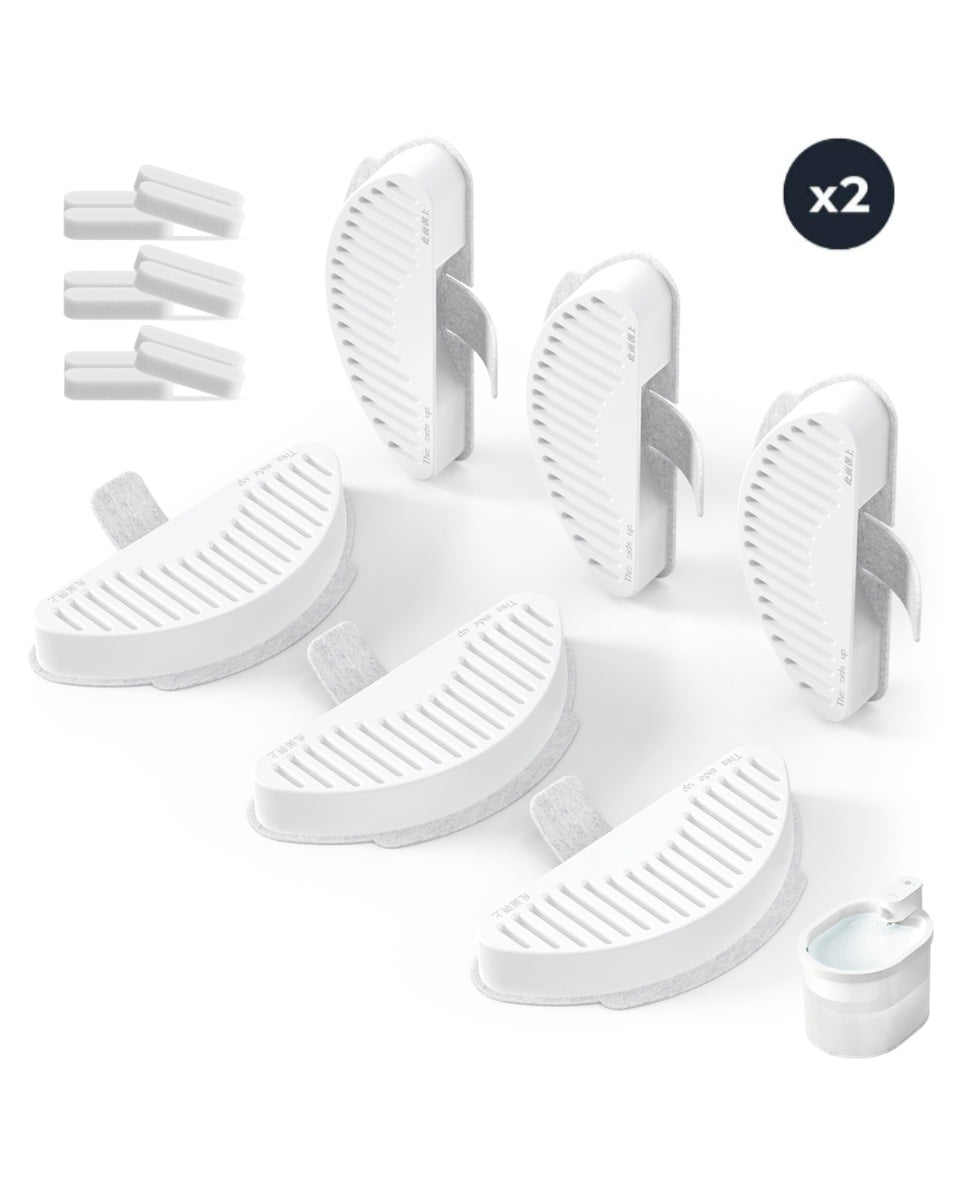
Step 6: Install the New Filter
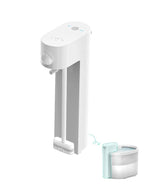
Place the new filter into the designated compartment. Make sure it fits snugly and is positioned correctly. Improper installation can lead to leaks or reduced filtration efficiency.
Step 7: Reassemble the Fountain
Once the new filter is in place, reassemble the fountain. Ensure all parts are securely fitted to prevent any issues when the fountain is turned back on.
Step 8: Fill the Fountain with Water
After reassembling, fill the fountain with fresh water. Be careful not to overfill, as this can cause spills when the fountain is in operation.
Step 9: Plug In and Turn On the Fountain
Finally, plug in the fountain and turn it on. Check for any leaks or unusual noises, which could indicate that the filter isn't installed correctly. If everything looks good, your cat now has access to clean, filtered water!
Maintenance Tips
To keep your cat's water fountain in top condition, make it a habit to check the filter regularly. Most filters need to be replaced every 2-4 weeks, depending on usage. Additionally, clean the fountain itself at least once a week to prevent the buildup of bacteria and algae.
By following these steps, you can ensure that your cat's water fountain remains a reliable source of clean, fresh water. Not only will this keep your feline friend happy and hydrated, but it will also give you peace of mind knowing that their water is safe to drink.