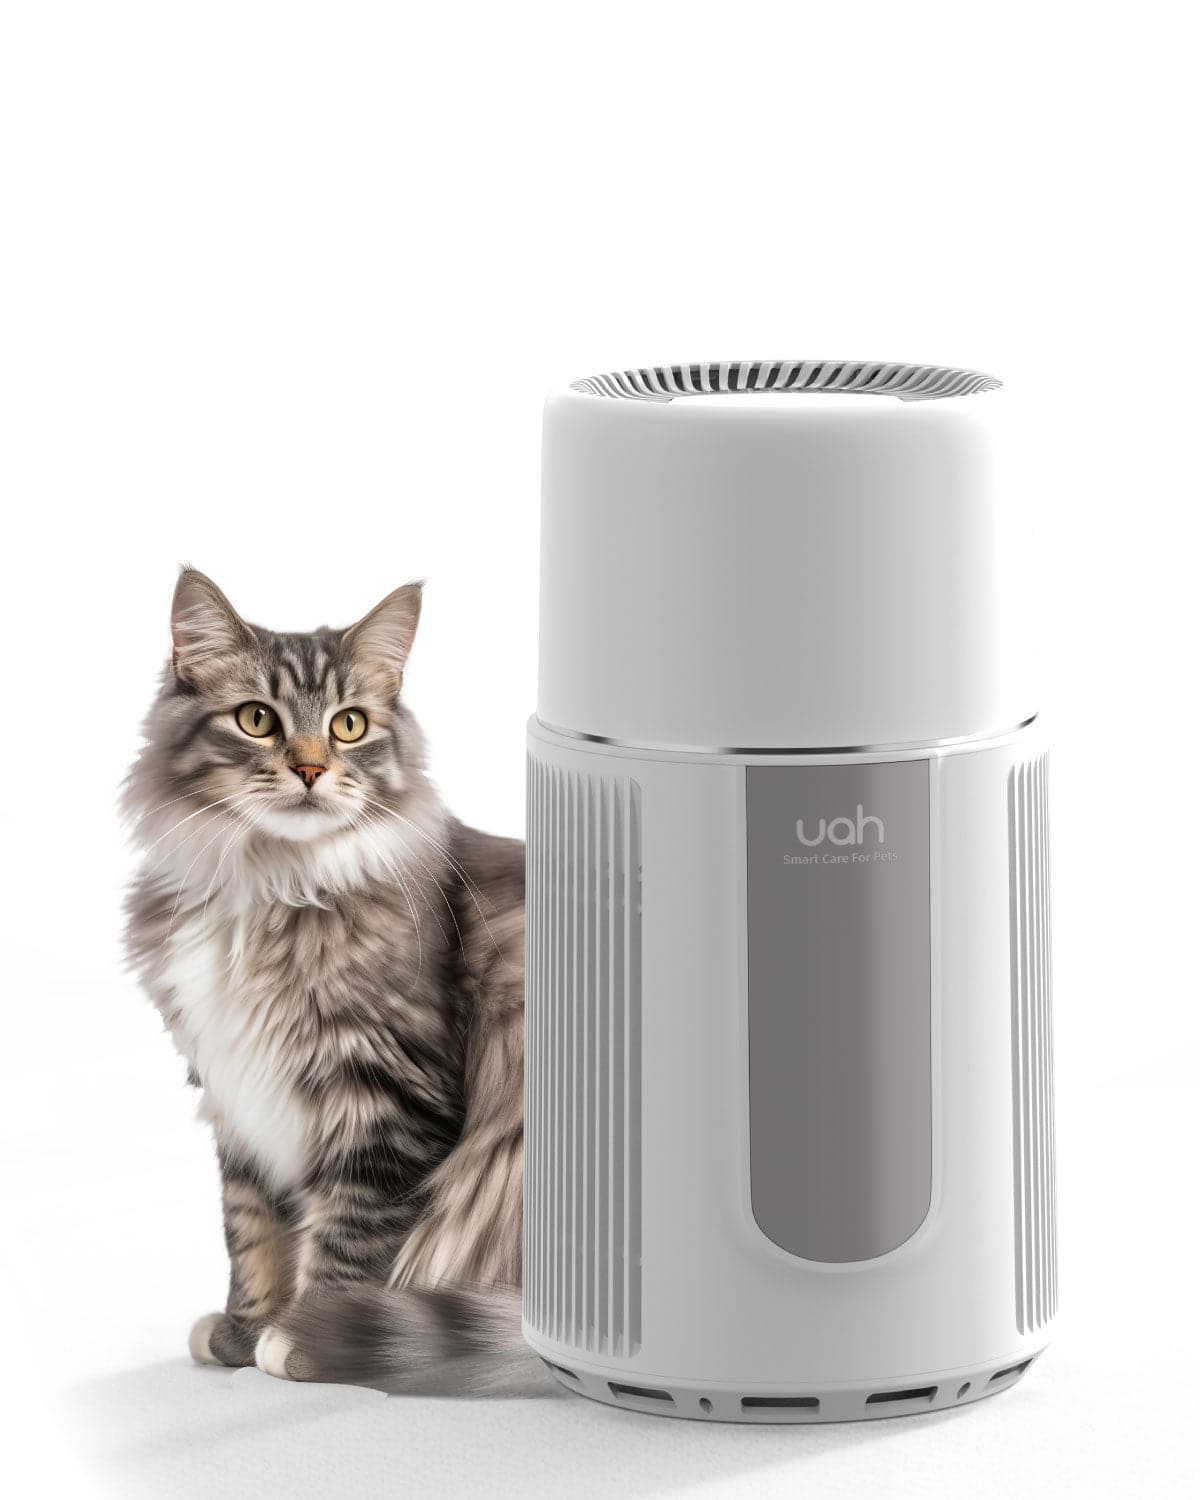


Changing a litter box might seem like a simple task, but doing it correctly can make a world of difference for both you and your cat. A clean litter box not only keeps your home smelling fresh but also ensures your feline friend feels comfortable and stress-free. If you're new to cat ownership or simply looking to refine your litter box maintenance routine, this step-by-step guide will walk you through the process.
Why Regular Litter Box Maintenance is Important
Regularly changing your cat's litter box is crucial for several reasons. First, cats are naturally clean animals and may avoid using a dirty litter box, leading to accidents around your home. Second, a well-maintained litter box helps prevent the buildup of bacteria and odors, creating a healthier environment for both you and your pet. Lastly, consistent cleaning can help you monitor your cat's health by observing any changes in their waste, which could indicate potential health issues.
What You'll Need
Before you begin, gather the necessary supplies to make the process smooth and efficient. Here's a list of items you'll need:
- A new litter box or a thoroughly cleaned existing one
- High-quality cat litter
- A scoop or shovel for removing waste
- Disposable gloves
- Trash bags for waste disposal
- Mild detergent or pet-safe cleaner
- Paper towels or a clean cloth
Step 1: Choose the Right Location
The first step in changing a litter box is selecting the right location. Cats prefer quiet, low-traffic areas where they can do their business in peace. Avoid placing the litter box near noisy appliances, food and water bowls, or in areas with heavy foot traffic. Ensure the location is easily accessible for your cat but also convenient for you to clean regularly.
Step 2: Remove the Old Litter
Start by putting on disposable gloves to protect your hands from bacteria. Use a scoop or shovel to remove any clumps of waste from the litter box. Place the waste in a trash bag, tying it securely to prevent odors from escaping. Once all the waste has been removed, pour the remaining litter into the trash bag as well. Avoid flushing cat litter down the toilet, as it can cause plumbing issues and harm the environment.
Step 3: Clean the Litter Box
After removing the old litter, it's time to clean the litter box itself. Use mild detergent or a pet-safe cleaner to scrub the box thoroughly. Pay special attention to corners and crevices where bacteria and odors can accumulate. Rinse the box with warm water and dry it completely using paper towels or a clean cloth. A dry litter box prevents clumping and ensures the new litter stays fresh longer.
Step 4: Add Fresh Litter
Once the litter box is clean and dry, it's time to add fresh litter. Pour enough litter to create a layer that's about 2-3 inches deep. This depth allows your cat to dig and cover their waste comfortably. Avoid overfilling the box, as it can lead to litter spillage and make cleaning more difficult. If you're using clumping litter, ensure it's evenly distributed for maximum effectiveness.
Step 5: Introduce Your Cat to the Clean Litter Box
After setting up the clean litter box, encourage your cat to use it. Place them gently in the box and let them explore. Some cats may need a moment to adjust to the new litter or location. If your cat seems hesitant, try adding a small amount of their old litter to the new box to help them feel more comfortable.
Step 6: Dispose of Waste Properly
Proper waste disposal is an essential part of changing a litter box. Seal the trash bag containing the old litter and waste tightly to prevent odors from spreading. If possible, dispose of the bag in an outdoor trash bin to keep your home smelling fresh. For eco-conscious cat owners, consider using biodegradable trash bags to reduce environmental impact.
Step 7: Maintain a Cleaning Schedule
To keep your cat's litter box in top condition, establish a regular cleaning schedule. Scoop out waste daily and change the litter completely at least once a week. If you have multiple cats, you may need to clean the box more frequently. Regular maintenance not only keeps your home clean but also ensures your cat remains happy and healthy.
Tips for a Stress-Free Litter Box Experience
Here are some additional tips to make litter box maintenance easier and more effective:
- Choose a litter box that's the right size for your cat. A box that's too small can make your cat feel cramped, while one that's too large may be difficult to clean.
- Experiment with different types of litter to find one that your cat prefers. Some cats are picky about texture and scent.
- Place multiple litter boxes around your home if you have more than one cat. This reduces competition and ensures each cat has access to a clean box.
- Monitor your cat's litter box habits. Changes in frequency or consistency of waste could indicate health issues that require veterinary attention.
Changing a litter box doesn't have to be a daunting task. With the right tools, techniques, and a little practice, you can create a clean and comfortable environment for your cat. By following this step-by-step guide, you'll not only keep your home smelling fresh but also ensure your feline friend stays happy and healthy. So, roll up your sleeves and give your cat the clean litter box they deserve!